

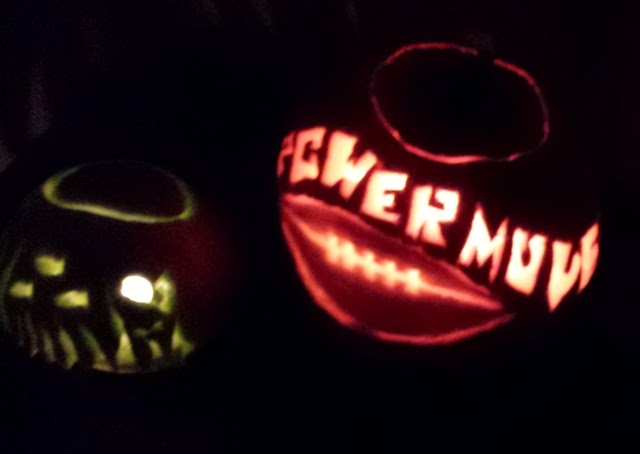
Halloween is just around the corner and I wanted to share with you these brain cake pops! I made these little beauties for a Pumpkin Carving Party this past weekend. Before I go on about how you can make these brain cake pops yourself, I thought I'd share with you the Pumpkins that were made this past weekend. Including the one Honeydew Melon that one person brought to carve instead of a pumpkin. Can you guess which one it is?


Who wouldn't love to take a bite out of a little brain?! I've been wanting to make these brain cake pops for awhile and wanted them to be perfect in their own cute little boxes. After hours of trial and error, I managed to successfully get these cake pops out of their molds and into their boxes.
Interested in making these brain cake pops yourself? Then keep on reading.... First you're going to have to get yourself the mold and boxes. I got the molds from Amazon, you can find it here. I made the boxes using the template that I made and you can find the download on my Etsy Shop. Unfortunately, since I made so many boxes and was trying to make these cake pops in a little bit of a rush, I didn't get too many pictures.

You'll Need:
1 box of cake, (any kind) baked and cooled
1/4 - 1/2 can of frosting (your choice)
1 package of pink candy melts
1/2 package of white candy melts
Brain mold
Candy brush
Box template
Card stock
Card stock
Plastic cellophane wrapping, cut into squares
Glue stick
Tape
Glue stick
Tape
Directions
For the Cake:
1. Crumble baked and cooled cake into a large bowl and add frosting. Mix until the cake and frosting are well combined and like a dough.
2. In a double boiler, melt the candy melts until smooth.
3. Coat each cavity of the brain mold with chocolate until you no longer see the pink of the mold. Chill the chocolate until the chocolate has set. If the chocolate is too wet, it will not work.
4. Pack the cake and frosting dough into each cavity until filled, leaving enough space on top to add more chocolate.
5. Cover the top with chocolate and chill the mold until the chocolate has set.
6. Carefully remove each mold. You have to be really gentle with this part, as the chocolate will crack if you aren't careful.
7. Place the cake pop into each box and shut.
For the Box:
1. Print the template of the box onto card stock and cut out. Cut out the window, if desired.
2. Print out the inside template onto card stock and cut out.
3. Carefully glue a square piece of plastic cellophane wrapping in the window area of the template. Let dry. The cellophane stuck on better with a permanent glue stick and letting it dry with a heavy book on top of them.
4. Fold and crease the edges of the box. Glue or tape the box together, leaving the top part open as a lid.
.jpg)
No comments:
Post a Comment