Friday, August 23, 2013

Customized Candy Bar Wrappers


Re-wrapping Hershey's is becoming more and more popular and who wouldn't love to have something personalized?! I personally love when things are customized for a specific person or a certain event. At work, the idea of wrapping King Size Hershey candy bars came up for a graduation event and I was all about it. It's so easy to do that I decided to wrap a Godiva chocolate bar for my mom's birthday (don't worry, that wasn't the only thing that I got her).

Beware that this can be a little time consuming. More time consuming if you are like me and like things perfect or close to perfect. If you have a few candy bars that you want to wrap, it shouldn't take you too long, however if you are wrapping them for a big event, you might want to recruit some extra hands. I was lucky enough to have help because wrapping more than 200 candy bars by myself would have taken A LOT longer.

You can find the foil wrapping at stores that sell cake supplies or online.Wilton makes a Fanci-Foil Wrap in 3 colors. I was really wishing they would have more colors, but I think next time I want try using shiny wrapping paper that way I can have a variety of colors. If you are buying precut foil online, be sure to check to see if the measurements will wrap around your candy bar. If you can't find paper backed foil or don't want to spend the extra money, I figured out an alternative that uses supplies typically found around the house, although I wouldn't suggest doing it because it takes a really long time and the foil isn't as forgiving when fold.

I'm going to show you how you can make your own with the ones for work.

Sunday, August 18, 2013

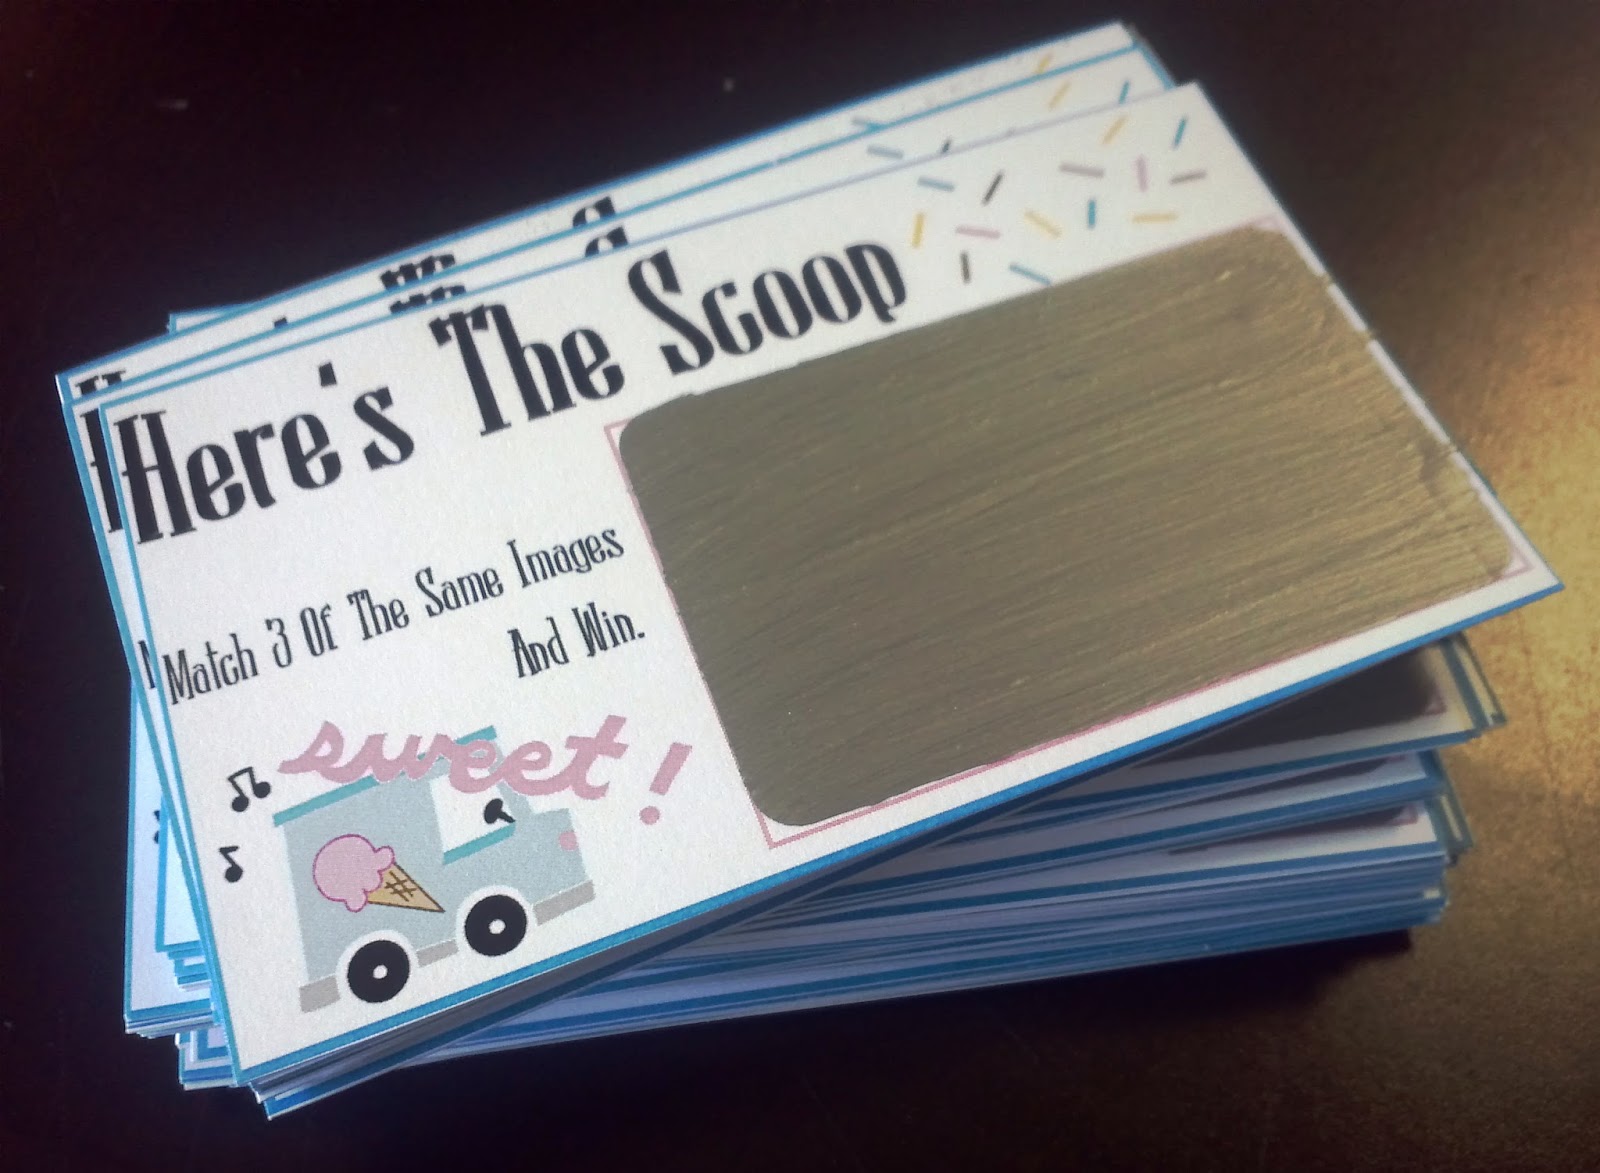
DIY Lottery Scratchers


Raffles are boring.... Lottery Scratchers are way more exciting! Ever since I was little and my dad would buy lottery scratchers, I would be excited when he let me scratch away to see if he won. So you could imagine how excited I was to know that I could make my own scratchers at home. I found out about this DIY a couple years back and made lottery scratchers for Sean as a part of his birthday gift. He loved them and I loved watching how excited he was to see if any of his scratchers were winners.

An event came up and this seemed like a better idea instead of having a raffle. Yes, this is more time consuming to set up and make than a raffle, but it is worth it. The theme for this event was an Ice Cream Social, so the scratchers definitely had to have an ice cream theme.

When I originally did this I used Acrylic paint since that is what I usually paint with, this time I thought I would give Tempera paint and it did NOT work. The tempera paint cracked and was very see through.  I ended up using "Liquid Metal" this time. I designed my own template and it did have a personalized design on the back. If you want to use mine, minus the back click here.  If have nothing printed on the back of your scratcher, you might want to back it with construction paper so the "winnings" aren't as see through. This really varies on the type of paper you use and how thick you paint.


Since my labels were the Avery Clear Glossy 2"x3" labels. I based the rest of the ticket around the size of these Avery labels. After completing them, I wish that I would have rounded my corners to match the label.

Making your own scratchers is pretty easy. The only thing that makes it take awhile is that you have to wait for the paint to dry between coats. I was making so many that by the time I finished painting one coat on all of them, they were dry enough to do the second coat and so one.

Continue reading to find out how you can make your own for any event.