Friday, August 23, 2013

Customized Candy Bar Wrappers


Re-wrapping Hershey's is becoming more and more popular and who wouldn't love to have something personalized?! I personally love when things are customized for a specific person or a certain event. At work, the idea of wrapping King Size Hershey candy bars came up for a graduation event and I was all about it. It's so easy to do that I decided to wrap a Godiva chocolate bar for my mom's birthday (don't worry, that wasn't the only thing that I got her).

Beware that this can be a little time consuming. More time consuming if you are like me and like things perfect or close to perfect. If you have a few candy bars that you want to wrap, it shouldn't take you too long, however if you are wrapping them for a big event, you might want to recruit some extra hands. I was lucky enough to have help because wrapping more than 200 candy bars by myself would have taken A LOT longer.

You can find the foil wrapping at stores that sell cake supplies or online.Wilton makes a Fanci-Foil Wrap in 3 colors. I was really wishing they would have more colors, but I think next time I want try using shiny wrapping paper that way I can have a variety of colors. If you are buying precut foil online, be sure to check to see if the measurements will wrap around your candy bar. If you can't find paper backed foil or don't want to spend the extra money, I figured out an alternative that uses supplies typically found around the house, although I wouldn't suggest doing it because it takes a really long time and the foil isn't as forgiving when fold.

I'm going to show you how you can make your own with the ones for work.

Sunday, August 18, 2013

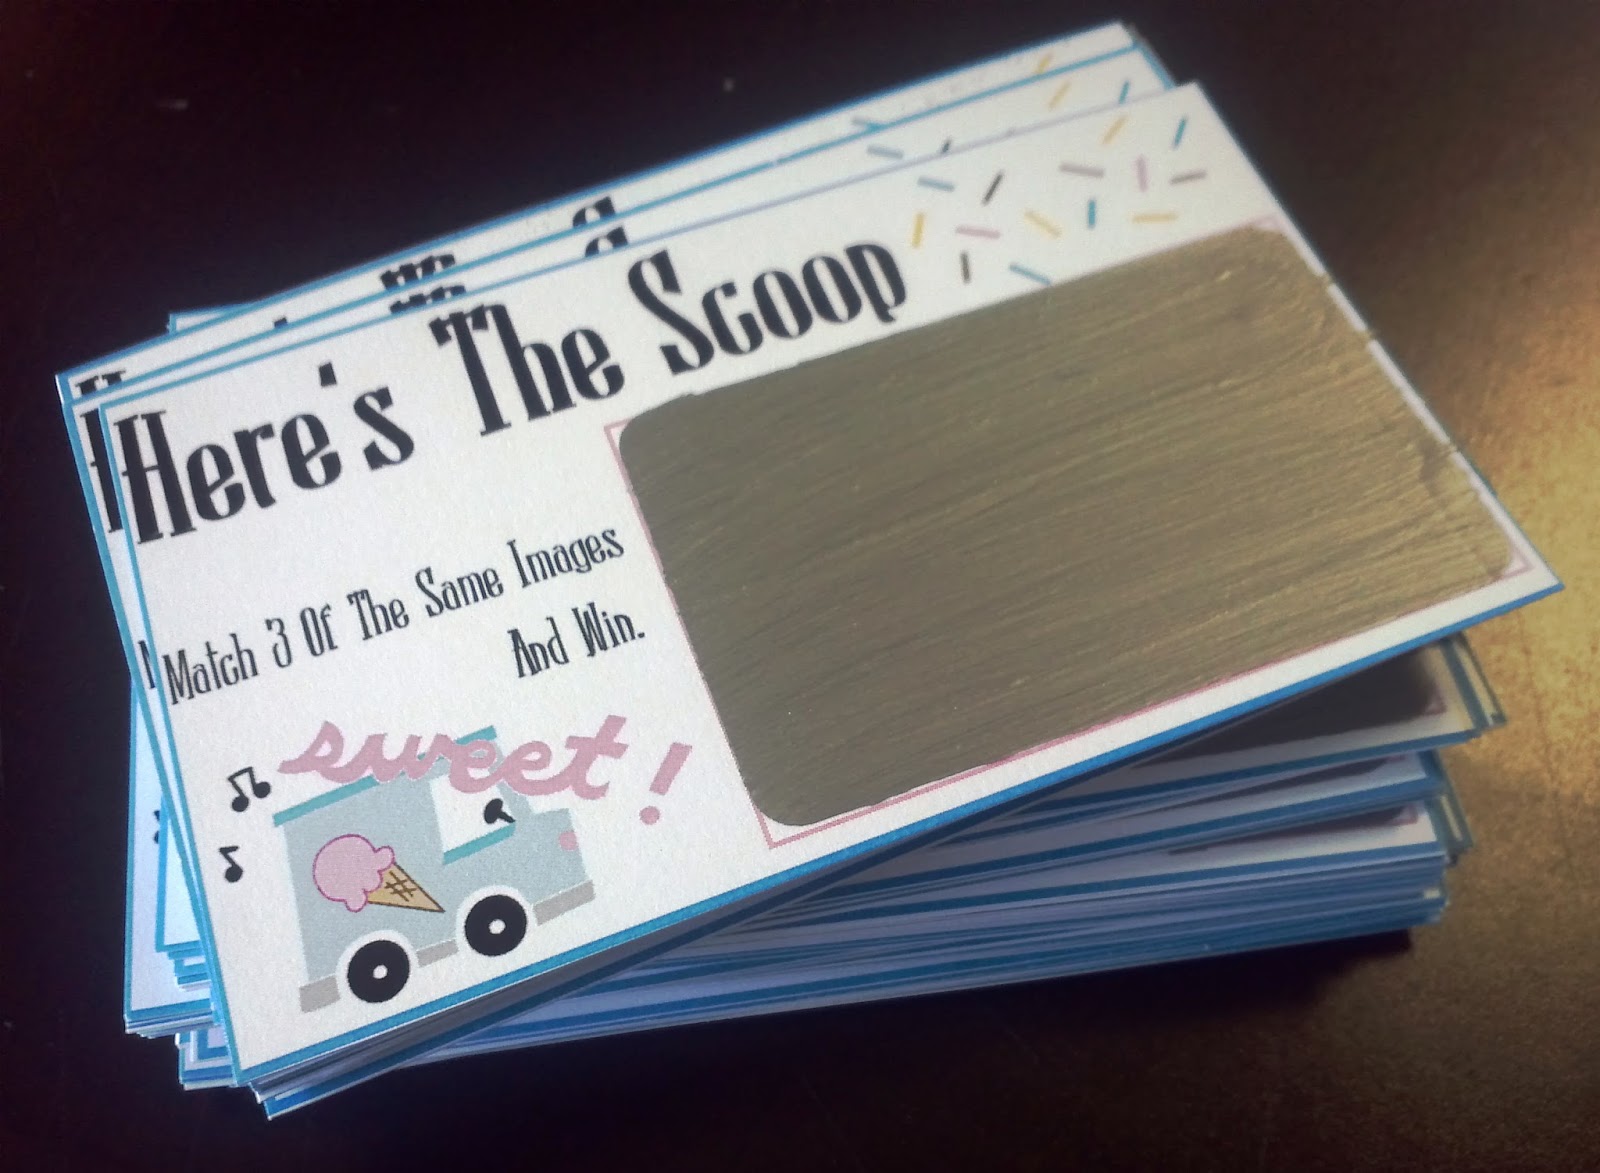
DIY Lottery Scratchers


Raffles are boring.... Lottery Scratchers are way more exciting! Ever since I was little and my dad would buy lottery scratchers, I would be excited when he let me scratch away to see if he won. So you could imagine how excited I was to know that I could make my own scratchers at home. I found out about this DIY a couple years back and made lottery scratchers for Sean as a part of his birthday gift. He loved them and I loved watching how excited he was to see if any of his scratchers were winners.

An event came up and this seemed like a better idea instead of having a raffle. Yes, this is more time consuming to set up and make than a raffle, but it is worth it. The theme for this event was an Ice Cream Social, so the scratchers definitely had to have an ice cream theme.

When I originally did this I used Acrylic paint since that is what I usually paint with, this time I thought I would give Tempera paint and it did NOT work. The tempera paint cracked and was very see through.  I ended up using "Liquid Metal" this time. I designed my own template and it did have a personalized design on the back. If you want to use mine, minus the back click here.  If have nothing printed on the back of your scratcher, you might want to back it with construction paper so the "winnings" aren't as see through. This really varies on the type of paper you use and how thick you paint.


Since my labels were the Avery Clear Glossy 2"x3" labels. I based the rest of the ticket around the size of these Avery labels. After completing them, I wish that I would have rounded my corners to match the label.

Making your own scratchers is pretty easy. The only thing that makes it take awhile is that you have to wait for the paint to dry between coats. I was making so many that by the time I finished painting one coat on all of them, they were dry enough to do the second coat and so one.

Continue reading to find out how you can make your own for any event.

Thursday, May 9, 2013

Onion Bread


For the past couple weeks all I've been hearing Sean complain every time we are at the grocery store is "Why don't they make onion bread?! You know, like the ones that are hamburger buns, but like normal bread." I don't know what his obsession was about this bread. After a not so great experience at trying an Onion and Dill sandwich bread which was too dilly, all Sean kept talking about was Onion Bread. 

Well to get him to stop talking about, I decided to make my own. After weeks of complaining, Sean got what he wanted and came to the conclusion on why they don't make sliced Onion Bread... because the onion is on top and there's too much bread. At least this was his feeling towards the version that I made. I liked it, but he is right, there is too much bread to onion ratio. I am posting the original recipe that I made, but I think next time I am going to mix the onion into the dough so onions are in every bite or made the bread like rolls.

Tuesday, March 26, 2013

Turkey and Kale Chili


I've been meaning to post this for quite a few days especially because I knew Passover was coming up and if you take part in Passover, this is most likely not on your list because of the beans and corn. 

But if you aren't taking part in Passover or you are trying to eat less red meat (which is what I've been trying to do the past couple months) than this recipe is something that you need to make tonight.... like seriously ditch whatever you had planned for dinner tonight and make this. It is so good and so easy to make. 

Who knew that turkey could be so delicious and this even without the beef, it still packs all of the flavor.

Friday, March 8, 2013

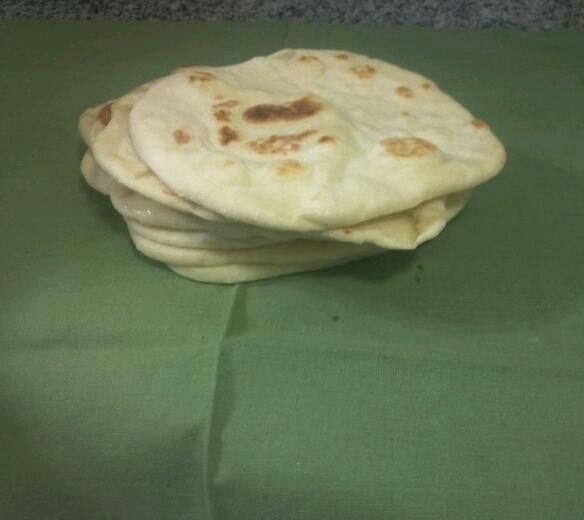
Pita Bread


One thing that I could eat everyday of my life would definitely be pita. I absolutely love pita, but I always thought that or was difficult to make or you needed something special to make it in to get the pockets to form. Guess what? You don't. I wish I would have found out sooner how simple it was. Who wouldn't love fresh warm pita whenever they wanted?! This recipe for Pita is super simple and very easy. With only 5 ingredients and nothing more than some patience while the dough rises and a cast iron pan, you too can be munching on soft, warm pita.

Friday, March 1, 2013

Box of Sunshine


I originally saw this idea on Pinterest over a year ago on Happy Money Saver and thought about doing it, but I had two issues... The first was I didn't really have anyone to mail a box to, since I saw my family and friends on a regular basis. The second was finding the right time to give it to the right person. Well a year later and something has finally come up for me to make someone's day with this box of "sunshine". 

 I used mine as a way to brighten Sean's day, but I also used it as an apology since I've been moody with things going on in my life. I put together the box, snuck out when he wasn't paying attention and left it in his car so when he went to work in the morning he would have a little surprise. 

You too can send or leave this for someone who needs a little cheering up. This box is very simple to make and can be made fairly fast. 

Thursday, January 24, 2013

Update

Where have I been?

Don't worry, I didn't forget about my blog at all. I just haven't had the time to update anything. No crafts have been done, no jewelry has been made and as far as new recipes, I just haven't had the time. I was sick for a month, then when I finally got better, Sean got sick. Now it seems like everyone around me has the flu, so I'm trying my best to avoid getting sick once again.

On top of getting sick, Sean and I moved, so there has been a lot of packing and unpacking. Every move that I've done, I only had school. This is the first move that I have had to do while working throughout the week and who knew how much stuff 2 people could have.

So unfortunately, I have nothing for you. :( On the bright side, before I got sick, I bought a bunch of beads and other jewelry stuff and I also did purchase a pasta machine, so when all the unpacking is done and I find my belongings, I will hopefully have some new posts for you.